Organisations
Organisations in relaxAI allow teams to collaborate and manage resources and settings amongst multiple users.
Creating an Organisation
Section titled “Creating an Organisation”To create a new Organisation:
-
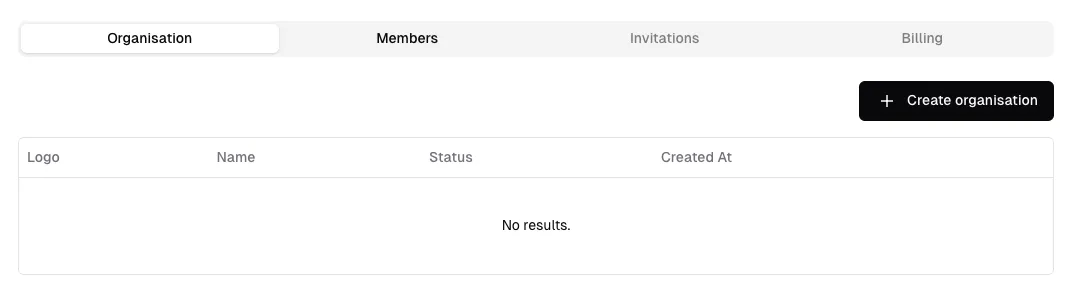
Navigate to the Organisations section in the relaxAI dashboard Settings.
-
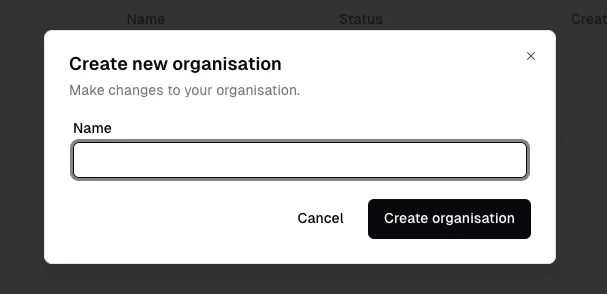
Click Create Organisation
Provide the Organisation’s name. This should be unique.
-
Click Create Organisation to establish the organisation.
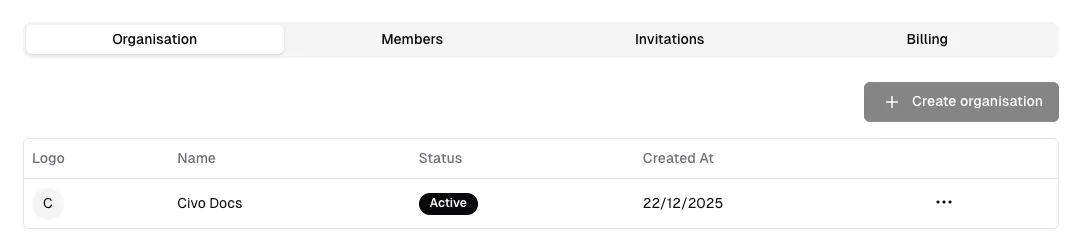
After creating an organisation, you can invite members and assign roles to manage access and permissions. The organisation dashboard provides an overview of all members, their roles, and activity within the organisation.
Customising Organisation Settings
Section titled “Customising Organisation Settings”Organisation administrators can tailor organisation settings to fit their needs:
- Edit: Modify the organisation’s name.
- Delete: Remove the organisation and all associated data.

Managing Organisation Members
Section titled “Managing Organisation Members”As an organisation owner or admin, you can manage members and their roles:
- Assign Roles: Designate roles such as
owner,admin, ormemberto control access levels. - Remove Members: Revoke access for members who no longer need it.
Roles determine the level of access and control a user has within an Organisation.
Available Roles
Section titled “Available Roles”- Owner: Full access to all settings and member management.
- Admin: Manage members and settings, but cannot delete the organisation.
- member: Access to organisation resources but cannot manage members or settings.
Assigning and Changing Roles
Section titled “Assigning and Changing Roles”To assign or change a member’s role:
-
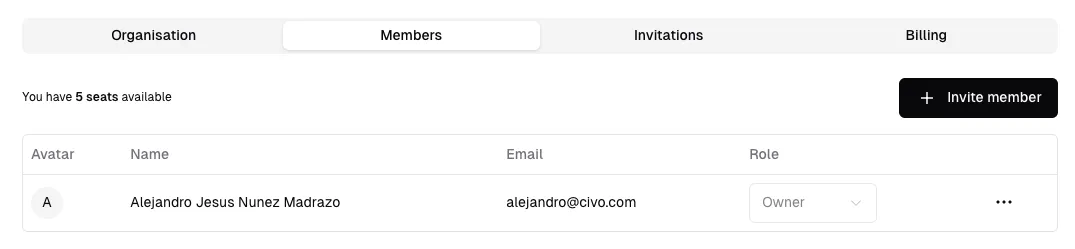
Navigate to the Members section of your Organisation.
-
Select the member whose role you wish to change.
-
Choose the new role from the dropdown menu. this will update their permissions accordingly.
Managing Members to an Organisation
Section titled “Managing Members to an Organisation”Invite new members to your Organisation:
-
Go to the Members section of your Organisation.
-
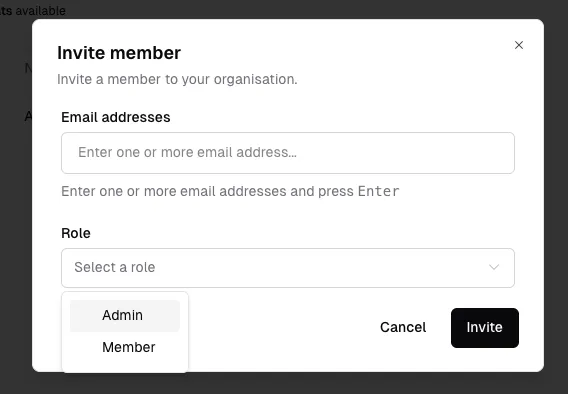
Click Invite Member.
-
Enter the email address of the person you want to invite. here you can invite multiple members by separating email addresses with commas or just pressing enter after each email.
-
Select the role you want to assign to the new member(s).
-
Click Invite to send the invites emails.
Remove members from your Organisation:
-
In the Members section, locate the member you wish to remove.
-
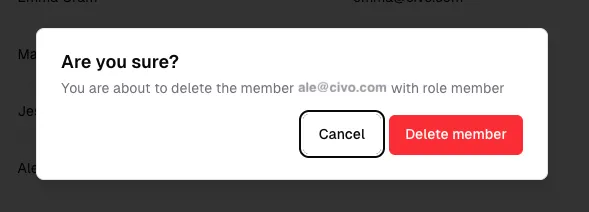
Click the Delete button next to their name.

-
Confirm the removal in the modal that appears.
Invitation Management
Section titled “Invitation Management”You can manage all invitations sent to potential members from the Invitations tab within your Organisation dashboard. Here you will see a list of all invitations with their current status:

- Pending: Invitations that have been sent but not yet accepted.
- Accepted: Invitations that have been accepted by the recipients.
- cancelled: Invitations that have been revoked before acceptance.
To cancel a pending invitation:
-
Navigate to the Invitations tab.
-
Locate the pending invitation you wish to cancel.
-
Click the Cancel button next to the invitation
-
Confirm the cancellation in the modal that appears.
Copy the invitation link to share it directly with potential members:
-
In the Invitations tab, click on the Copy Invitation Link button.
-
Share the copied link with the intended recipients.